How to use your Mac safely in public places
Credit to Author: Jonny Evans| Date: Thu, 14 Feb 2019 10:59:00 -0800
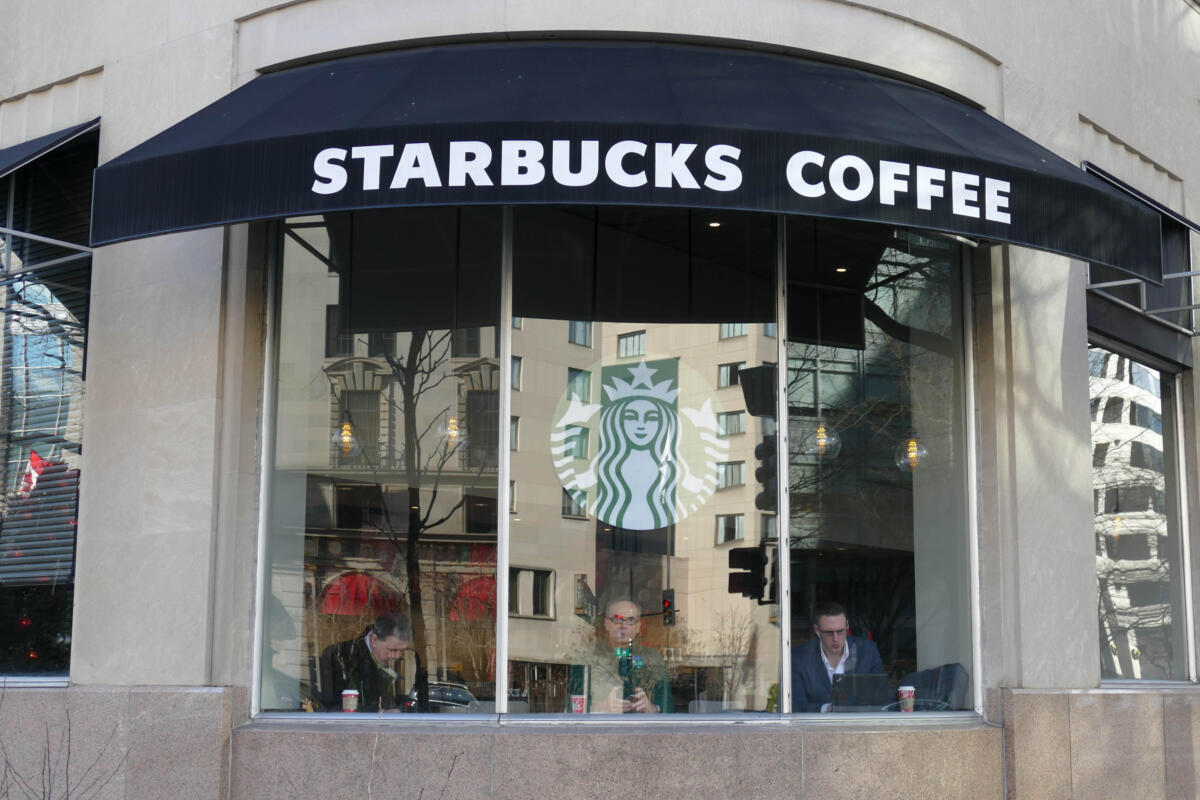
Coffee shops across the planet are populated by earnest Apple Mac-wielding remote and/or freelance workers – but are they taking steps to protect themselves in a public place? Follow this checklist to make sure you are protected.
Public Wi-Fi networks are dangerous places, not least because you don’t really know how the network is set up or who else is sitting on the same network with you.
Criminals are known to set up legitimate-seeming hotspots on which their software lurks, attempting to take data (including your bank and intranet passcodes) in transit. Please beware:
If you use a VPN from a reputable company, you can make yourself a great deal safer when working in that coffee shop beside your gig economy mates.
I don’t recommend using a free service, as they can suffer poor performance and some are insecure, more reputable services include NordVPN, CyberGhost, and ExpressVPN, as explained here. These things create secure and encrypted tunnels to your VPN provider, which means you can carry on working on whatever you are working on in relative security, even on a public network.
Firewalls try to prevent unauthorized people or software from accessing your Mac if they happen to be on the same network. Apple has a built-in protection against this in the form of the macOS firewall. This should be on by default, but you should check:
There are also a couple of additional Firewall settings you may choose to use.
Tap Firewall Options and you can check Enable Stealth Mode. While in this mode any attempts to probe for and find your Mac over the network (using ping, for example) will be met with stony silence, as if your Mac is not there.
Finally, Firewall Options also lets you block all incoming connections other than those essential to use basic internet services, while the Advanced tab in the Firewall pane lets you enable a feature that requires an admin password in order to access system-wide preferences.
You may share things such as printers, files, or even your screen when you are at your home or office, but when you are using your Mac in the wild, you should switch off all your sharing items.
(NB: If you have set your firewall to block all incoming connections, then these services should be protected, too – but you should switch them off to be sure.)
Don’t worry about switching these off – you can always enable them all over again if you need to make use of them.
Did you know that most passcodes start with 1? Or that many people use birthdates, or simple repetition such as 1234?
This makes no sense when all you are doing on your Mac is sending emails to family members and shopping on Amazon, so it makes even less sense to use a weak password when your computer holds all the keys to your kingdom.
You should make sure the password kicks in quickly, securing your Mac in the unlikely event you need to leave it unattended in a public place.
Open System Preferences>Security & Privacy>General and set Require password to the shortest time you can handle – many of us like the convenience of a little thinking time staring at their Mac.
NB: You should also ensure Automatic login is not enabled on your Mac in System Preferences>Users&Groups, as allowing this means everything on your Mac is insecure.
If you need to step away from your Mojave Mac, the fastest way to lock it up against unauthorized access is to type Command-Control-Q, or select Lock Screen in the Apple menu.
You can also set your Mac up so a quick swipe to a Hot Corner on your screen will lock it: Open System Preferences>Desktop & Screen Saver>Screen Saver and then choose Hot Corners. In the interface that appears, select a hot corner and choose Lock Screen from the drop-down menu.
You can have a message that appears on your Mac homescreen. My Mac has a message that urges anyone who has it to call me and return it for a no questions asked reward.
To create this message:
The message is now visible when your Mac is locked.
If you use your Mac with iCloud, then do make sure you have switched on Apple’s useful “find” function. While smart miscreants know how to get around this protection, it does give you some chance to protect your data if you lose your computer, as it may help you find your machine. Open System Preferences>iCloud and enable Find My Mac.
While this feature requires your location services to be on, and works only when your Mac is online, it may help you track down a lost or stolen machine.
There are Bluetooth-based attacks, and while Macs aren’t so impacted by them, you don’t really want to receive random, tasteless images from some deeply troubled person sitting near you while you are working in public. Nor will you want random invitations to connect with people you don’t know.
That’s why (unless you happen to be using it) disabling Bluetooth can be a good idea when you are out and about. Just disable it using the Menu icon or use System Preferences>Bluetooth if you don’t keep a toggle for this in the menu bar.
When you disable Bluetooth, you also disable Apple’s built-in AirDrop feature, so you may prefer to keep it on if you are collaborating with others in a public place – you should ensure you set AirDrop to allow contacts only in the small drop down at the bottom of an AirDrop window.
(The easiest way to open an AirDrop window is to press Command-Space and type AirDrop.)
If you lose your Ma, or it is stolen, you will not want to make it easy for people to access the data on your computer. This is why you should enable FileVault protection, which encrypts the data on your disk and makes it impossible to access without the correct password. Enable this feature in System Preferences>Security & privacy>FireVault.
I hesitate to recommend using a firmware password mainly because if you do set one up, you must be absolutely and completely certain you will not forget it.
However, it adds an additional level of protection in the event someone steals your Mac and attempts to reset your password using Terminal in Recovery Mode in order to get to its contents.
This is because once a firmware password is set, you will need to input it in order to get into Recovery Mode – and if you don’t have this password, you’ll have to take your Mac to Apple to recover access to it. So please be certain you’ll remember it. Take a look at Apple’s website here to see how it is done.
Stay safe out there!
Please follow me on Twitter, or join me in the AppleHolic’s bar & grill and Apple Discussions groups on MeWe.